I was always a sucker for pepperoni on my pizza, so when I went plant-based I just assumed I’d kiss it goodbye – but the plant-based explosion has seen a lot of pizza joins making their own version. You can even get it at the grocery store. But why pay so much for it when you can learn how to make seitan pepperoni at home?
This recipe blows me away every time I have it – the spicy kick is delightful and the aroma and flavours are spot on. The texture is chewy and crispy if you cook it properly.
Crazy tasty and ridiculously easy to make, this plant-based seitan pepperoni is perfect for everything from pizza and calzones to cheese boards and sandwiches.
Both oven and Instant Pot instructions below!
If you want to make a fully whole food plant based pizza I’ve got a whole grain pizza dough recipe for you, as well as a stretchy plant-based mozzarella cheese not to mention a gooey cheddar plant-based cheese


How to Make Seitan Pepperoni
Description
Even though I love vegan pizzas there’s something about the smokey meaty flavour that pairs so well with the dish - so here’s how to make seitan pepperoni. It’s crazy easy - you’ll wonder why you ever bought it at the store.
Ingredients
Dry Ingredients
Wet Ingredients
Instructions
-
Get 4 pieces of aluminum foil ready. About 12 inches or so long.
-
In your food processor mix together all of the dry ingredients and pulse it for a few spins. Mostly you want to make sure that the fennel seeds get broken up a bit. Next add in your wet ingredients and continue to pulse. Let this go for 30 seconds or so until it comes together in a ball. If you don’t have a processor you can do this all by hand.
-
Transfer the dough over to a clean flat surface and knead until smooth and firm, about 30 seconds for dough made in a food processor or 2 to 3 minutes for dough made in a bowl by hand.
-
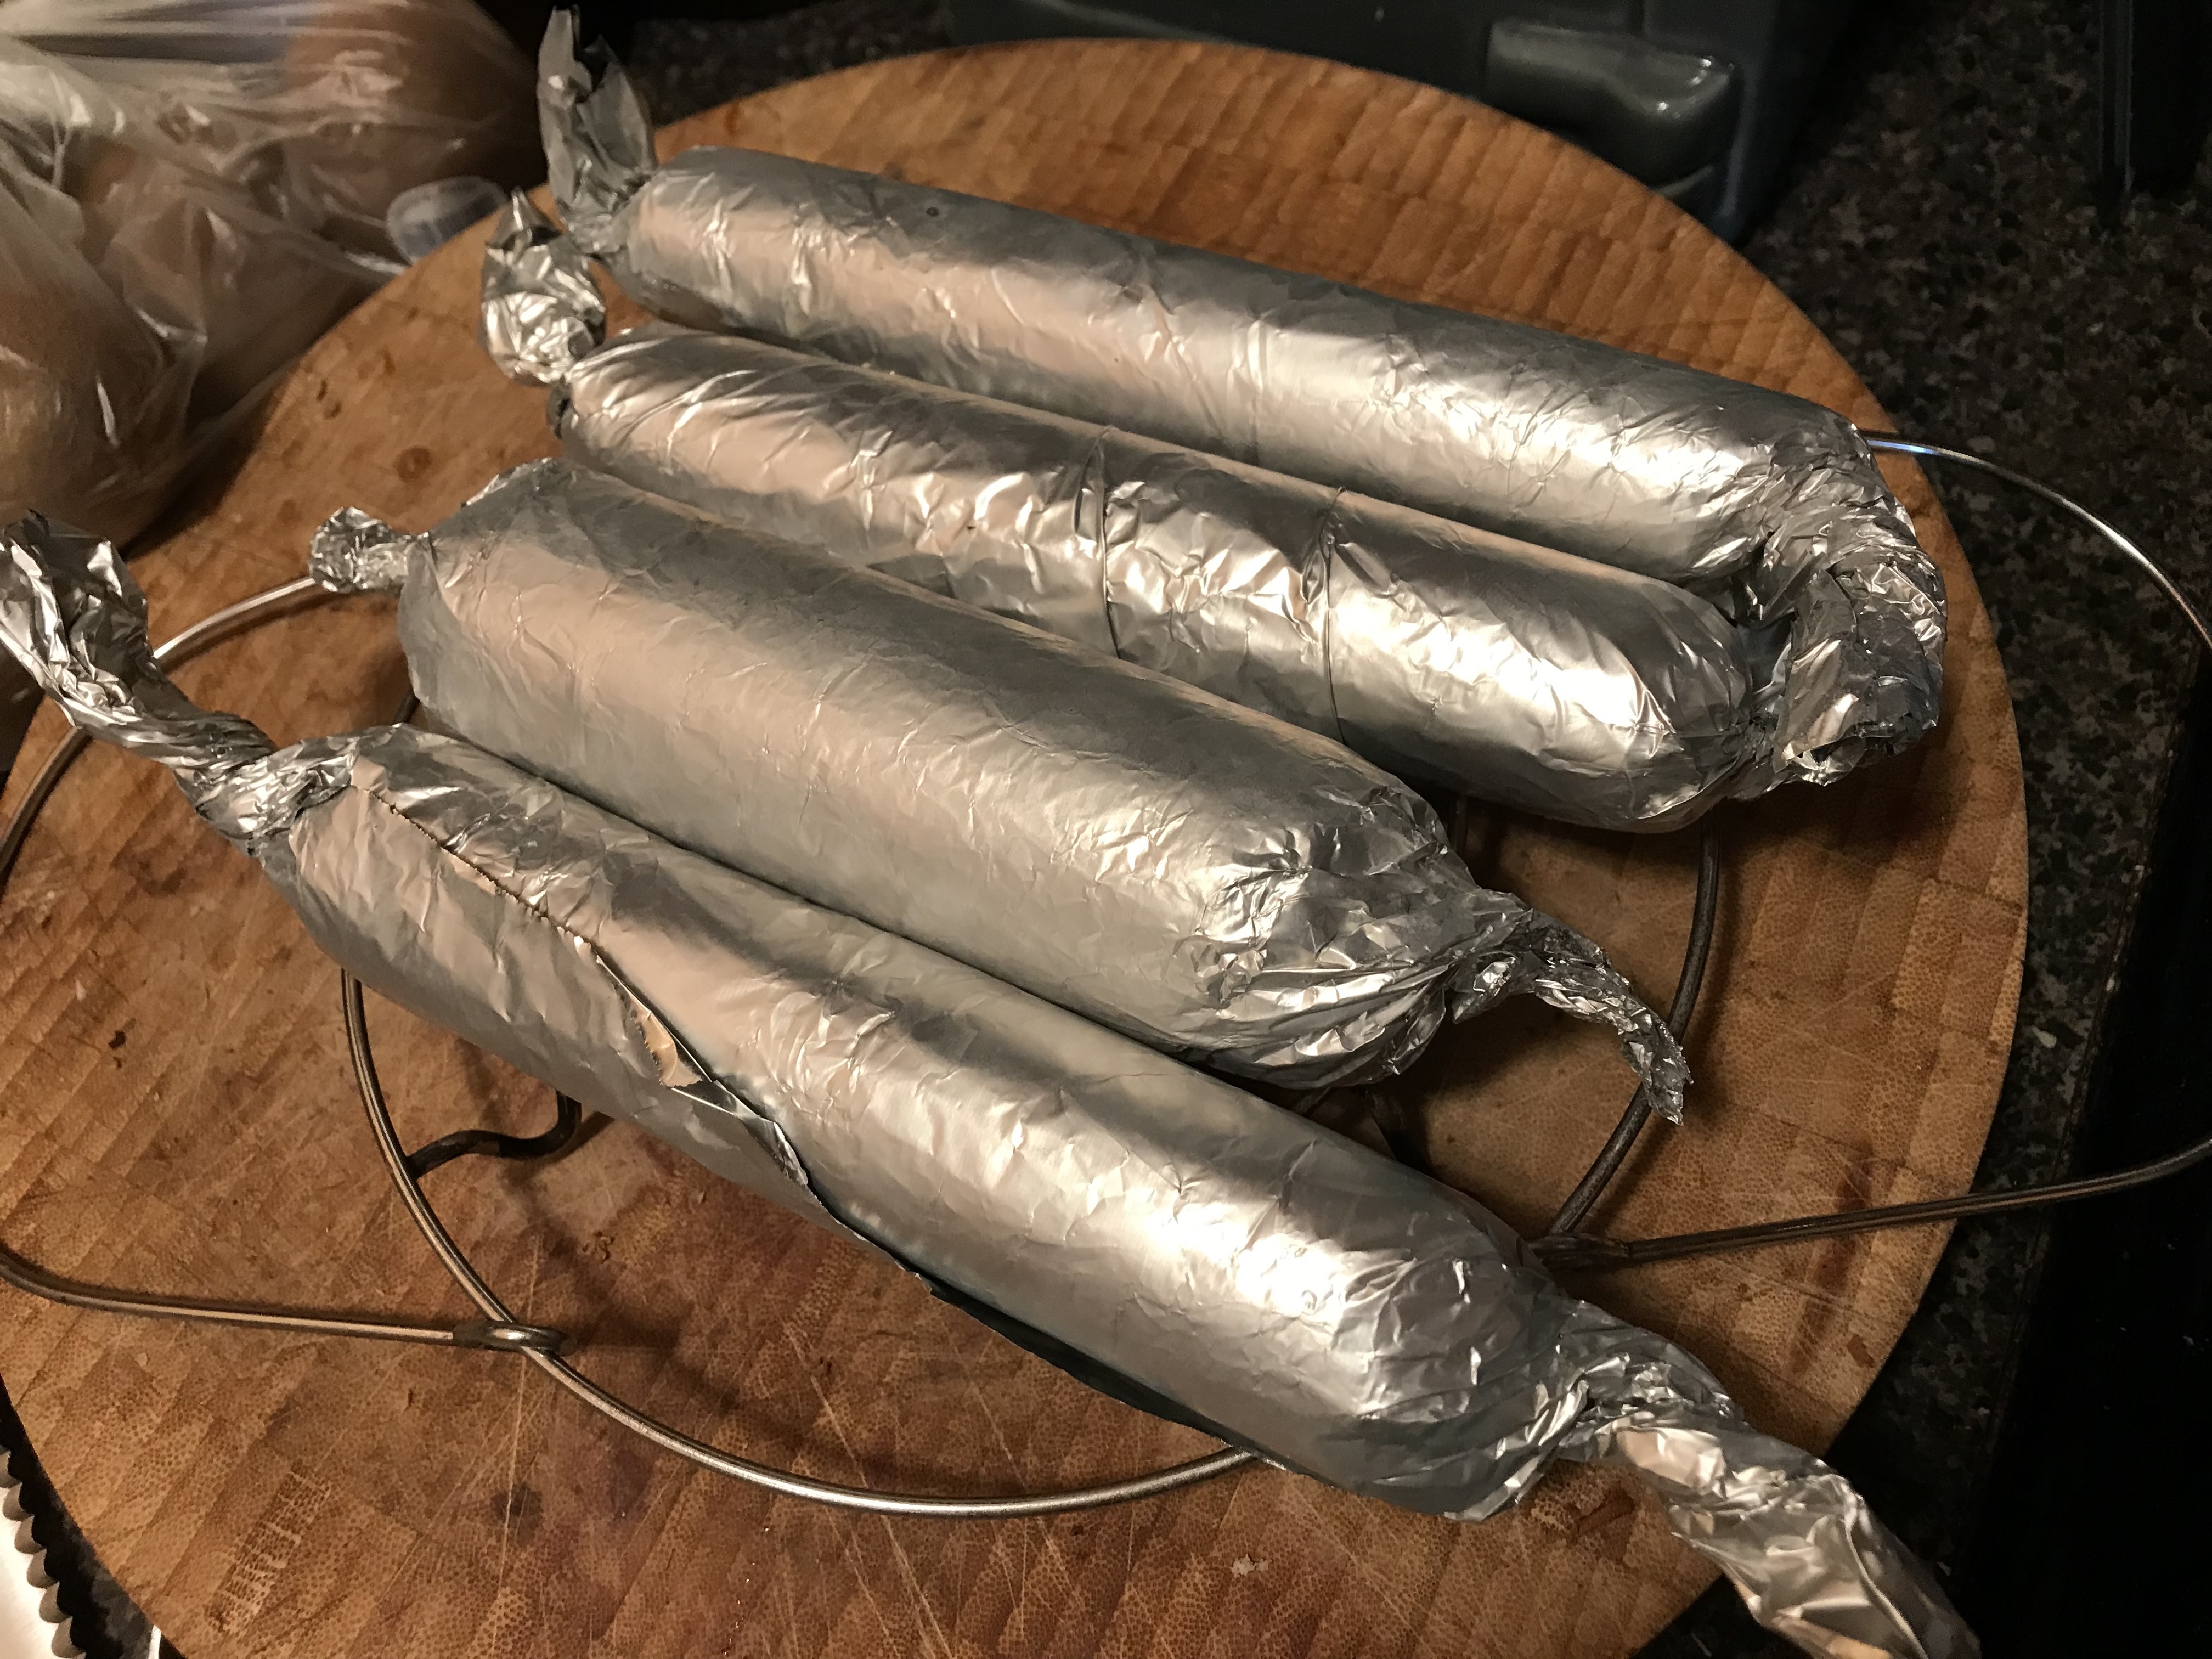
Cut the dough in half, and then in half again and shape each piece into a log about 6 inches long. It's okay if they don't look perfect. They'll mould into place inside the foil. Place a piece of foil on the work surface a wrap the pepperoni up tightly, twisting the ends around. This is crucial for them getting the right shape.

-
Add 1 cup water to the insert and place the pressure cooker’s trivet inside. Place the four foil packages on the trivet, and secure the lid. Press the "steam" button, and make sure the display reads "high". Set the time for 30 minutes.
-
When the pressure cooker is finished its initial cook, carefully quick release the pressure, remove the lid, and use tongs to move the pepperoni to a plate or cutting board to cool. Unwrap and let cool for 5 minutes before slicing, or cool completely then store in an air-tight container in the refrigerator.
-
Oven instructions: Place the two foil logs on a baking sheet, and bake for 55 minutes at 325 F, flipping at the halfway point. Remove from oven, unwrap, and let cool for 5 minutes before slicing. Or cool completely then store in an air-tight container in the refrigerator.

Nutrition Facts
Servings 6
- Amount Per Serving
- Calories 212kcal
- % Daily Value *
- Total Fat 5.5g9%
- Saturated Fat 0.5g3%
- Sodium 12mg1%
- Potassium 32mg1%
- Total Carbohydrate 15.2g6%
- Dietary Fiber 3.2g13%
- Sugars 3.2g
- Protein 27.9g56%
- Calcium 4 mg
- Iron 13 mg
* Percent Daily Values are based on a 2,000 calorie diet. Your daily value may be higher or lower depending on your calorie needs.

This pepperoni was great for my pizza. It also wasn’t hard to make which was a huge plus
Sneaky simple, right?
These are SO delicious and have a great texture! I didn’t have tomato paste, which most seitan recipes call for, so I was grateful to find this recipe without it. Originally I was intending to make 1 batch, but I misread the water content as 1.5 cups (I think because everything above it was 1.5 something) and knew as soon as I poured it into the dry ingredients it was way too much. So I had no choice but to make a triple recipe 🙂 I’m so glad I made the mistake, though, because now we have extra. We immediately used some of it in pizza and pasta (both were amazing) and froze the remainder. We also kept 2 of the logs whole and plan to try eating it like a sausage on a bun. I’m looking forward to trying some of your other recipes next!
So glad you like this. Yes – make a big batch – it freezes beautifully!!! 🙂